Animating the Sun
Between June 23 and July 5 some large sunspots were visible, and they gradually changed and moved across the face of the Sun. Our star rotates every 25 days or so, so a spot takes 12 or 13 days to move across the visible area. It seemed an interesting project to try to construct an animation of the sequence. To do this I’ll be using a variety of RISC OS apps, which are detailed at the end of the article.
Thiis is a long post, so click to see it:
Luckily, this time period coincided with some reasonably clear days (unusual this year). So I tried to take a picture of the Sun with the Dwarf Mini every day. All went well until July 41 and 5, when there was no Sun at all, so I was limited to 11 frames rather than the planned 12 or 13. Oh well. Here’s an overview of the files collected, as shown in Thump:
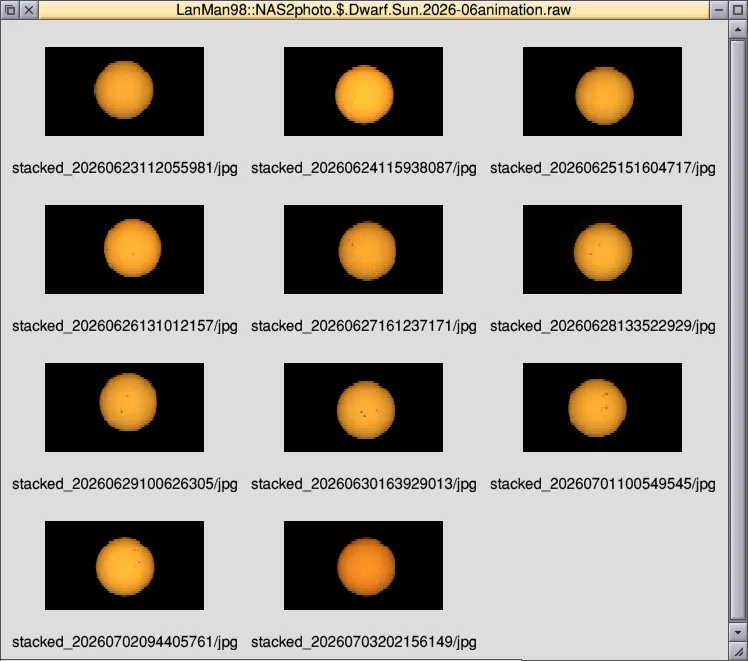
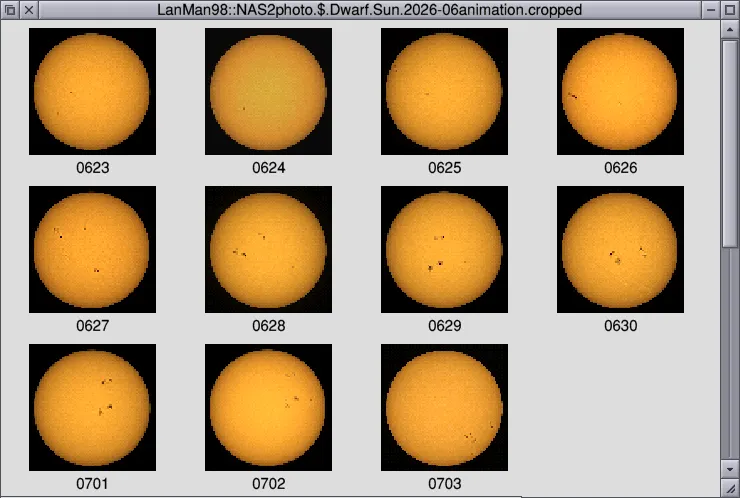
First of all I cropped each image in PhotoDesk, so the Sun was centred in a 512×512 square — the Mini doesn’t always precisely centre the Sun’s image. I did this by eye, so it wasn’t completely accurate, but fine adjustment can wait. I saved each image as an unmasked sprite, and changed the filenames to just the date.
Ideally all the pictures would be taken at the same time of day, but due to cloud cover this wasn’t always possible; the times vary between 10am and 8pm (the filenames above give the date and time). They should also be taken with the same parameters — exposure and gain — but due to forgetfulness a couple weren’t. Also on July 3 the only clear period was late in the day at about 8:20pm, when the Sun was low in the sky; this alters the apparent brightness, as the light has to travel though more of the atmosphere.
All this means that a couple of corrections are needed to match the images up. First and easiest is brightness/colour matching, which can be done using equalisation and gamma correction in PhotoDesk. I tweaked the July 3 image and also modified the June 24 and 26 images, which were a bit too bright. So we had this:
Rather more difficult is correcting for the time of day. As time advances through the day, the apparent orientation of the Sun changes. So all the photos need to be both precisely aligned and rotated to match. Which is a bit of a problem with the Sun — there are no ‘fixed points’ on the surface to help with orientation, and even the spots grow, shrink and move around from day to day.
Aside: Providing you know these facts:
- The orientation of the sensor — always horizontal here
- The exact date and time the photo was taken — both in the original filename
- The latitude and longitude of the photo’s location — Leeds UK
- The tilt of the Sun’s axis, relative to the Earth — about 7.25°
…it’s theoretically possible to work out the amount of rotation needed. But the maths is a bit fearsome2, so I’ll be aligning everything by eye as best I can.
Now we change apps. ArtWorks 2 is much more convenient than PhotoDesk when you’re editing multiple images to align them. PhotoDesk is more limited when it comes to viewing and editing layered images: when editing a layer you can only see layers beneath that one. And rotating layers is very restricted. ArtWorks 2, on the other hand, allows arbitrary display and editing of objects on layers. ArtWorks 2 doesn’t have PhotoDesk’s rich selection of blending modes, but you can use ArtWorks 2’s Crystal tool to approximate this, so you can see all layers at once, in blended fashion.
Drop the first cropped image, 0623, onto an ArtWorks window. For each of the rest, create a new layer named for the image and drop the image onto it. Apply the Crystal tool with Stained glass transparency, at about 50%. Now you can see all images blended together, which will let you align and rotate them.
Use the layer dialogue’s eye icons to isolate an image of interest; keep at least the bottom layer always visible so you’ve got a reference image. Switch between the rotate and selection tools to align each image in turn.
Some ArtWorks tips:
- Usefully, Shift-Select on an eye icon lets you display a single layer; click again to show all layers.
- Hold down an Alt key to temporarily activate the selection tool; you can thus easily switch between rotating and moving
- Use the zoom tool to help with precise alignment
- Use the arrow keys to ‘nudge’ an image precisely; you can specify the nudge distance in Choices
- Varying the Crystal mode and transparency settings might help with alignment; ideally ArtWorks would have a Difference blend mode like PhotoDesk, but that’s not available
When they’re all loaded and aligned you’ll have something like this:
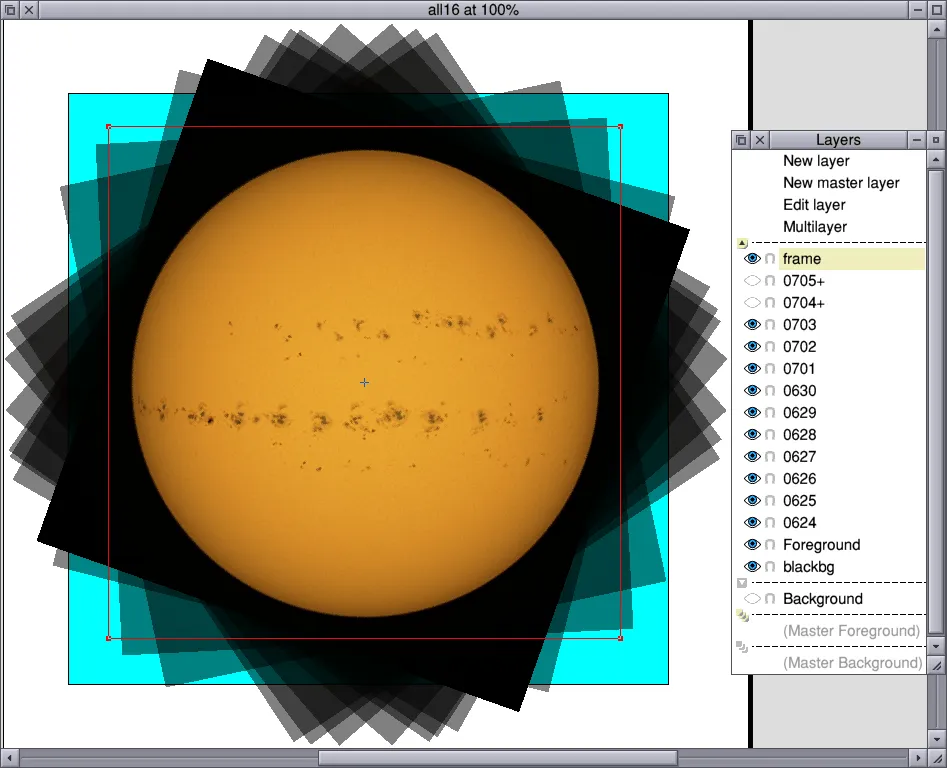
Note the top layer, frame, which just contains an empty box of 512×512 pixels used as a selection area to frame each image when we save it. I’ve outlined it in red so you can see it, but when saving it has no line or fill colour. It should also have a line width of 0.
Clearly there’ll be white areas in the corners if we save images using this area, so there’s another layer called blackbg, containing a large rectangle to use as background. Adjust-drag this layer down to the bottom of the stack, below Foreground. This rectangle is cyan currently to make it stand out, but will be black when saving.
Now we save each layer as a sprite, preparatory to creating an animation with InterGIF. First turn off the transparency of all the images: select the Crystal tool and deselect the Display button.
Select the frame layer, and select the frame itself with Ctrl-A. Make sure it has no line or fill colour! For each save operation you should be able to see the dots in the corners of the frame.
Hold down Shift, and select the eye icon of the Foreground layer, which contains our first image. Ensure the blackbg layer is also visible. Type Ctrl-Shift-E to save a bitmap. Output as a Sprite, and ensure Selection box is selected, and Scale is 100%. Change the filename — 0623 here — and drag to a new directory somewhere.
That’s the first one done. Click on the 0624 layer’s eye, and repeat as above, changing the filename appropriately. Repeat for all image layers. I modified the last few filenames to 0631, 0632 and 0633 so they were all consecutive, which enables InterGIF to process them correctly. Or you could number the whole lot from 0000 if you want. A bit tedious, but without scripting facilities this is how it’s done.
If you open this directory in Thump and display the first image, by holding down right-arrow you can get a kind of basic animation. This will show that some of the rotations weren’t quite right … ah well, next time.
Now we turn to InterGIF for a real animation. Select Looping animation and Join input files. I used a delay of 15cs, and Find best 255 from the palette dialogue. Drop the 0623 file on the window, and save the output somewhere to get this:
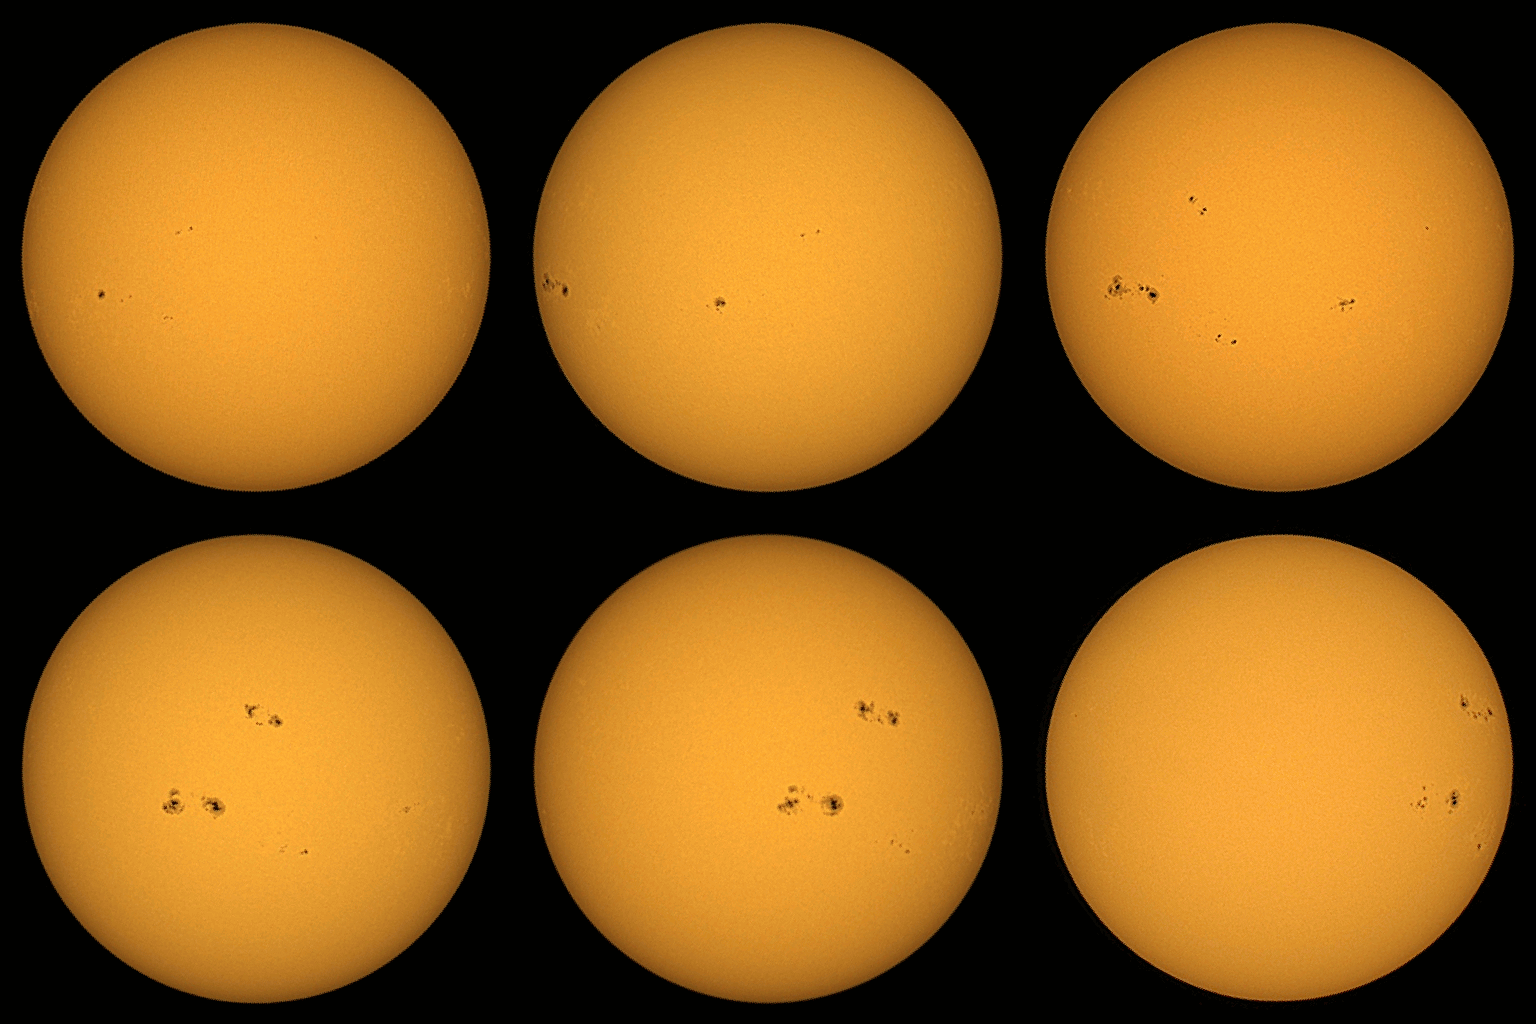
This isn’t perfect, I know. Some of the rotations are a bit off, and the overall brightness isn’t constant. Hey, first attempt!
We can get a nicer animation by using ffmpeg to create a video. Now while RISC OS does have ffmpeg, the command-line length limit means it can’t be easily used for this. So I gave up and moved to Raspbian.
A kind person has written a bash script to crossfade berween a number of images, and after a few small tweaks it worked. First I used ConvImgs to mass-convert all the sprites to PNGs, then ran the script to get this:
Software notes and credits
All this shows how incredibly useful a scripting facility is for graphics programs. There are a lot of repetitious operations and neither ArtWorks nor PhotoDesk provide much help. But RISC OS does actually have a very capable and scriptable graphics program: Composition (aka Compo), written by Rob Davison and now very kindly donated to the community. Compo is available for download via the Pling Store. I’ve not used this app much but intend to investigate it more thoroughly when time allows.
ArtWorks (Martin Wuerthner) is available from MW Software.
PhotoDesk (X-Ample Technology) is available via the Pling Store (the !Store app).
Thump (Rick Hudson/Christopher Martin) is usually provided with your RISC OS distribution.
InterGIF (Peter Hartley) is usually provided with your RISC OS distribution.
ConvImgs (Chris Johnson) is available via the Pling Store.
ffmpeg (many!) is usually provided with your RISC OS distribution.
The crossfade bash script was written by “Pesky” and is available here.
Thanks to all.